Home EV Charging: Level 1 vs Level 2 and an Overnight Schedule
Calculate whether Level 1 can cover your driving, when Level 2 helps, and how to build a safe time-of-use home EV charging plan.
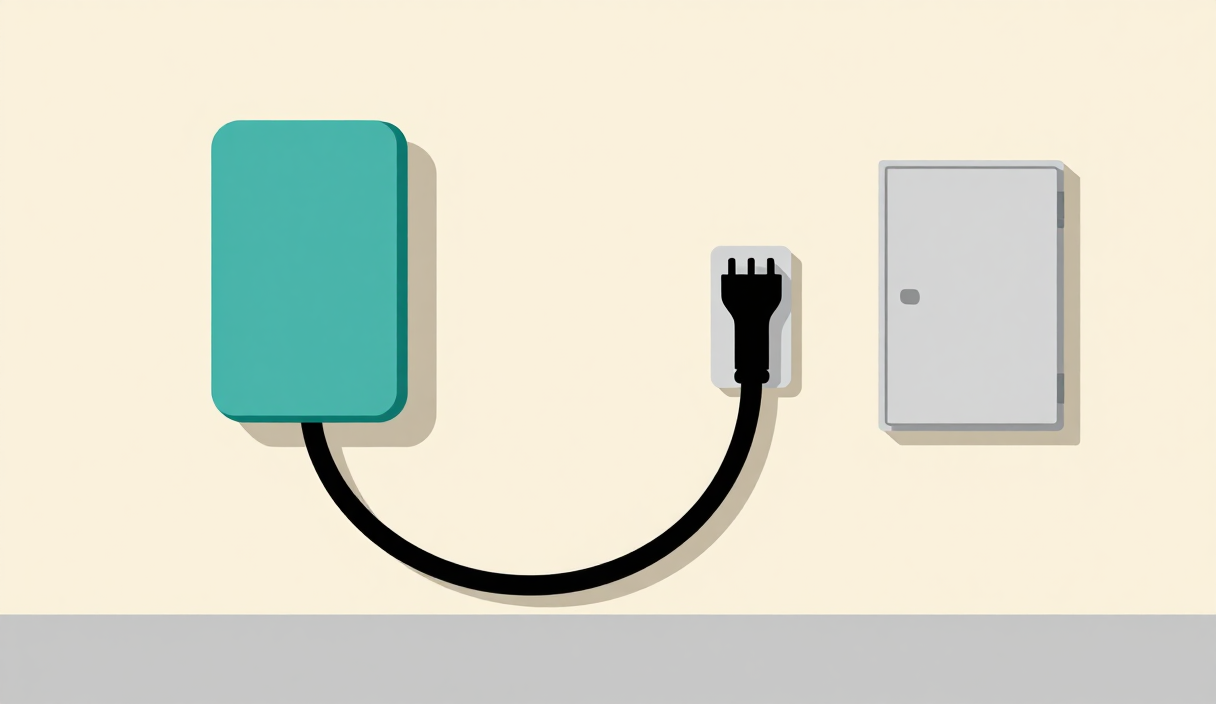
Home EV charging is not a race to install the highest-power box. The useful question is smaller: how many kilowatt-hours must your car receive before the next departure, and how many parked hours are available to deliver them? Once those two numbers are visible, Level 1 may prove sufficient, Level 2 may solve a real constraint, or a mixed plan may be best.
The U.S. Department of Energy’s home-charging guide says most drivers charge overnight with AC Level 1 or Level 2 equipment. That broad pattern does not decide your house, however. Driving distance, vehicle efficiency, winter conditions, parking duration, utility rates, panel capacity, local permits, and the charger’s behavior when cloud service fails all matter. This guide turns those variables into a decision rather than a shopping list.
The four decisions to make before choosing charging power
Separate the project into four decisions. First, calculate daily energy need. Second, decide whether the existing charging window can deliver it. Third, have the electrical installation and permit path evaluated. Fourth, decide how scheduling, maintenance, and account security will work after installation. A charger specification alone answers none of the last three.
The DOE’s consumer EV overview distinguishes AC Level 1 and Level 2 from public DC fast charging and explains that connector compatibility varies. At home, do not assume that a connector adapter, receptacle, or maximum vehicle input turns one charging level into another. The vehicle, charging equipment, branch circuit, connector, and installation must work as one approved system.
| Decision | Evidence to collect | What it changes |
|---|---|---|
| Daily energy | Miles driven, vehicle energy use, charging losses | Required kWh per normal day |
| Available window | Arrival time, departure time, competing household loads | Minimum practical charging power |
| Site readiness | Panel condition, circuit path, parking location, permit rules | Installation scope and professional review |
| Operating plan | Utility rate periods, scheduler owner, outage behavior | Cost, reliability, and household routine |
Calculate the energy, then the hours
Use three transparent formulas:
battery energy needed = miles driven × vehicle kWh per milewall energy needed = battery energy needed ÷ charging efficiencycharging hours = wall energy needed ÷ delivered charging kW
The efficiency factor represents losses between the wall and the battery. It is not a universal constant. Use trip or charging records from your own vehicle when available. For an early planning estimate, show the assumption and test sensitivity instead of presenting a precise-looking answer as fact.
Worked example: a 32-mile weekday
Assume a household drives 32 miles, the vehicle averages 0.30 kWh per mile, and wall-to-battery efficiency is 88%.
- Battery energy:
32 miles × 0.30 kWh/mile = 9.6 kWh - Wall energy:
9.6 kWh ÷ 0.88 = 10.9 kWh - At a hypothetical 1.44 kW delivered rate:
10.9 ÷ 1.44 = 7.6 hours - At a hypothetical 7.2 kW delivered rate:
10.9 ÷ 7.2 = 1.5 hours
These power figures are scenario inputs, not wiring recommendations. Actual charging power depends on the vehicle and approved installation. If the car is parked from 8:30 p.m. to 6:30 a.m., the example suggests that Level 1 could recover an ordinary day’s energy with some margin. It would have less margin after an unusually long trip, during inefficient cold-weather operation, or when charging starts late. Level 2 would shorten recovery, but speed has value only if that shorter window solves a real household constraint.
Level 1 versus Level 2: compare the constraint, not the label
| Situation | Level 1 may be enough when… | Level 2 becomes more useful when… |
|---|---|---|
| Routine commute | Daily wall energy fits comfortably inside parked hours | The daily requirement regularly exceeds the available window |
| Irregular driving | Long days are rare and public charging can cover exceptions | Back-to-back long days make slow recovery disruptive |
| Two drivers or vehicles | Only one vehicle needs routine home energy and schedules do not conflict | Shared parking creates short, predictable access windows |
| Time-of-use rate | The low-price period is long enough for required energy | The cheap window is too short at the lower delivered power |
| Electrical project | Existing approved setup is adequate and safely located | A new dedicated installation solves access, weather, or capacity needs |
| Resilience | Vehicle controls charging locally without cloud dependence | A connected charger adds useful controls without becoming a single point of failure |
Avoid using a portable charging cord as permanent proof that the site is ready. Conversely, do not assume a new wall unit requires the largest circuit the vehicle can accept. The DOE’s charging-infrastructure installation guide treats equipment selection, site assessment, utility coordination, installation, and commissioning as connected steps. A qualified electrician should evaluate panel condition, available capacity, circuit length, parking geometry, equipment listing, mounting, cable management, and local requirements.
The DOE also maintains a separate EV charging permitting guide. Permit and inspection rules are local. A neighbor’s installation, a retailer’s compatibility quiz, or an online amperage table cannot replace the authority having jurisdiction. Renters and condominium owners also need the property owner’s or association’s process before equipment or wiring is changed.
Build a time-of-use schedule with a departure buffer
A useful schedule begins with the utility tariff, not a generic “charge after midnight” rule. Record the rate period, season, weekday or weekend differences, demand charges if any, and whether an EV-specific plan has enrollment or metering conditions. The EIA residential electricity price table is useful context for regional and national prices, but it is not your tariff; use the utility’s current rate sheet for the actual calculation.
Consider the 10.9 kWh example under two hypothetical energy prices:
- At $0.14/kWh:
10.9 × $0.14 = $1.53 - At $0.31/kWh:
10.9 × $0.31 = $3.38 - Difference: about
$1.85 per charging day - Across 250 similar days: about
$464
That result is a scenario, not a savings promise. Taxes, fixed charges, demand charges, program fees, seasonal prices, charging losses, and driving changes can alter the bill. The calculation is valuable because it exposes what must be checked. If the rate difference is small, a fragile automation may not be worth it. If the difference is material, scheduling deserves careful commissioning.

Choose one primary scheduler—vehicle, charger, or utility program. Two overlapping schedules can produce a car that never starts charging. Set the target completion before the actual departure time so a short outage or delayed start does not consume the entire buffer. Then run three tests: an ordinary overnight session, a late-arrival session, and a manual “charge now” exception. Record start time, delivered kWh, completion time, and any error.
Readers already coordinating thermostats and flexible appliances can use the site’s home energy monitoring and load-shifting plan to avoid starting every large load at the beginning of the same low-price window. For a separate comparison of energy-price assumptions and payback logic, see the smart thermostat ROI guide or test your own numbers in the energy calculator.
Installation is an electrical project, not an app setup
Do not size a circuit from this article. Continuous-load rules, conductor and overcurrent protection, receptacle or hardwired configuration, environmental rating, physical protection, load management, local code, and manufacturer instructions require site-specific review. Keep charging cables out of walking and vehicle paths, avoid improvised extension arrangements, and stop using equipment that is damaged, unusually hot, loose, discolored, or repeatedly trips protection.
ENERGY STAR’s EV charger guidance explains that certified models are evaluated for energy performance and that some are connected for remote monitoring or control. Certification can be a useful filter, but it does not prove that a model fits a particular vehicle, weather exposure, circuit, utility program, or mounting location. Ask the installer to document the equipment model, circuit, breaker, commissioning result, permit, inspection, and emergency contact.
Tax incentives should come after suitability. The IRS Alternative Fuel Vehicle Refueling Property Credit page explains current eligibility, limits, location rules, and forms. Do not subtract a credit from the project price until the property, placed-in-service date, location, taxpayer, and expense qualify under current instructions. A tax professional can resolve facts that the installer’s quote cannot.
Commission the charger like household infrastructure
Commissioning means proving behavior, not merely seeing a light turn on. With the electrician or installer, verify that the vehicle begins and ends a normal session, the cable reaches without tension, the connector can be stored off the floor, protective devices are documented, and another adult can stop charging without an account password. Save the manual and permit record somewhere the household can find them.
The DOE’s operation and maintenance guidance treats preventive maintenance, inspection, connectivity, and repair planning as part of charging reliability. Make a monthly visual check that does not involve opening electrical equipment: look for enclosure damage, loose mounting, cable cuts, connector debris, impact marks, water intrusion, heat discoloration, or a new error pattern. Follow the manufacturer’s cleaning and inspection instructions. Electrical repair belongs to qualified personnel.

Write down the fallback for four events:
- Internet unavailable: Does the local schedule continue, or can the vehicle schedule take over?
- Power returns after an outage: Does charging remain stopped, resume immediately, or wait for the planned window?
- Phone lost or account locked: Can another adult operate the system safely?
- Departure changes: Is there a clearly understood manual override that will not erase the normal plan?
Connected charging equipment is also an IoT device. The NIST Cybersecurity for IoT Program provides a framework for thinking about device cybersecurity capabilities, while the FTC’s IoT security guidance emphasizes security by design, updates, authentication, and limiting unnecessary data. For the household, that means a unique password, multifactor authentication when offered, prompt firmware updates, the minimum integrations needed, and a clear account-recovery method. Do not put charger credentials in a garage note.
If local control or a home-automation platform coordinates charging, include its configuration in the Home Assistant backup plan. A backup is useful only after a restore test confirms that schedules, secrets, and device identifiers return correctly.
A seven-day decision and test plan
Day 1 — Measure driving. Record normal miles, the longest recurring day, arrival time, departure time, and the vehicle’s observed kWh per mile.
Day 2 — Calculate energy. Compute normal and long-day wall energy using an explicit efficiency assumption. Add a cold-weather or detour sensitivity case rather than one optimistic figure.
Day 3 — Read the tariff. Mark the actual low-price window and all qualifications. Compare cost at the relevant periods with the same delivered kWh.
Day 4 — Inspect the site from a distance. Photograph the parking position, panel location, cable route, weather exposure, and obstacles for the electrician. Do not remove panel covers.
Day 5 — Get professional and local answers. Ask about capacity, equipment compatibility, permit, inspection, utility notification, load management, and commissioning. For rental or shared property, obtain the required written approvals.
Day 6 — Choose the minimum power that solves the constraint. Compare charging hours with the true parked window. Keep a departure buffer and an exception plan.
Day 7 — Test and document. Run a complete session, a schedule override, and an offline-account scenario that does not require unsafe electrical intervention. Record what happened.
Limitations and safety boundaries
The formulas estimate energy and time; they do not design a circuit or guarantee vehicle range. Displayed vehicle efficiency may not equal wall energy because charging losses and accessory use differ. Delivered power can taper or stop. Cold or hot conditions can change energy use. Utility tariffs and tax rules can change. An illustration cannot show code-compliant clearances or every connector detail.
Stop and use qualified help for burning odor, visible damage, unusual heat, repeated trips, water near electrical equipment, loose receptacles, impact damage, or any uncertainty about the panel or circuit. In an emergency, follow local emergency guidance and the equipment and vehicle manuals. Never open charging equipment or an electrical panel based on a web guide.
The final choice is therefore not “Level 1 good, Level 2 better.” It is: choose the lowest-complexity approved system that reliably delivers your required kWh inside the available window, survives ordinary household failures, and produces a cost you can verify. That decision remains useful even when vehicles, rates, and apps change.
FAQ
Can Level 1 charging cover a normal commute?
Often, if the required wall energy fits comfortably inside the real parked window. Use your miles, observed efficiency, and charging records. Keep margin for cold weather, detours, late arrivals, and charging losses.
Does every EV owner need Level 2?
No. Level 2 is valuable when it solves a recovery-time, shared-parking, time-of-use, or operational constraint. Faster charging alone does not prove that the added electrical project is necessary.
Should scheduling live in the car or the charger?
Use one primary scheduler and test it. The best location is the one that reliably completes charging, preserves a departure buffer, supports a simple override, and behaves predictably without cloud access.